Whether you’ve been playing the guitar for years or you’re just considering starting guitar lessons, there are a couple of DIY things you can do to mod your instrument and make it your own. Some people replace the electronics or customize their hardware, but a lesser-known mod that professional and amateur musicians can do on their own is replacing their pickguard.
A pickguard serves to protect your guitar as you’re strumming, but it also gives a guitar its distinct look. Think of the hummingbird pickguard on Gibson acoustics or a sparkly Stratocaster pickguard – could you imagine these guitars without these iconic looks? Continue reading to learn about how to change and replace a guitar pickguard.
Contents
Determine What Pickguard You Want
Though easier said than done, you need to decide what you want to replace your current pickguard with! Before you get carried away, it’s important to establish what pickguard you can swap your current one with. Not every pickguard will fit your current guitar, so note what you have. The best way to do this is establish if you have an acoustic or electric guitar. Once you’ve done that, determine the body shape: is it a dreadnought or parlor size? Is it a telecaster or les paul?
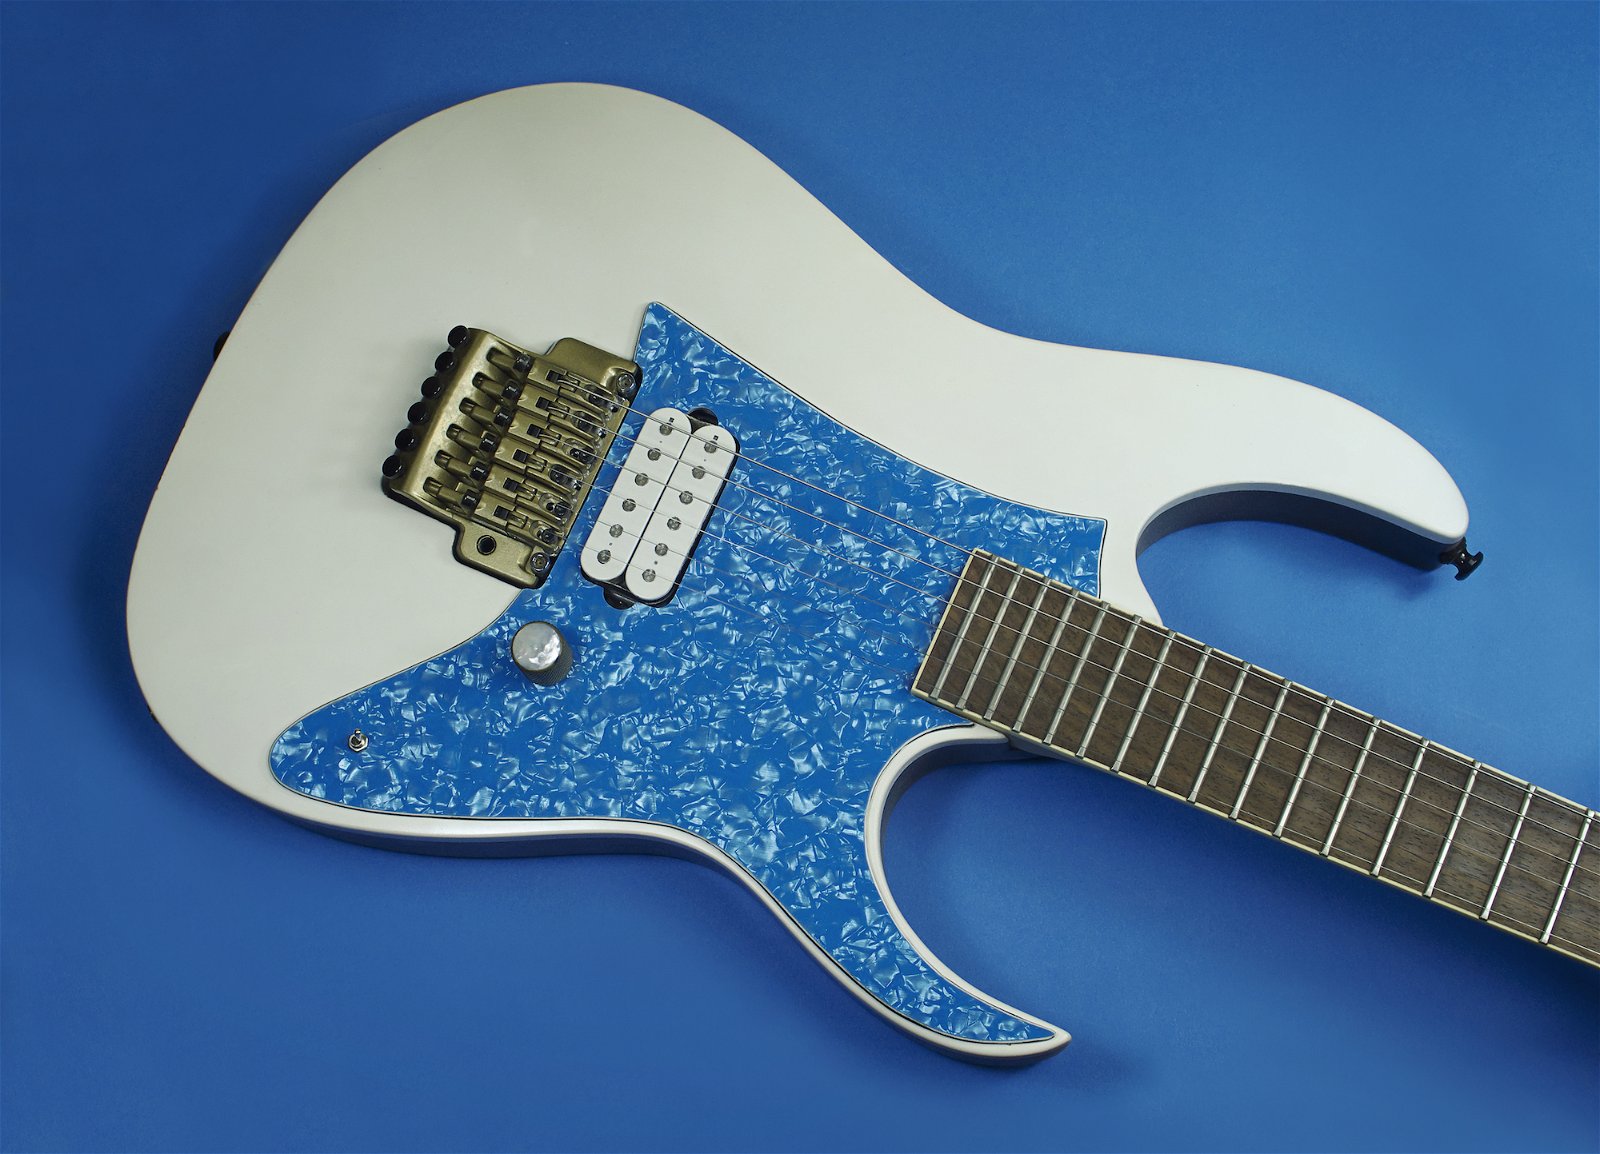
Once you’ve narrowed down the shape and style of your guitar, you’ll be able to search for options that’ll fit your guitar. This is where you can get creative with colors, materials, and designs. A classic mod for acoustic guitars is to replace “teardrop” pickguards with hummingbird pickguards. For electric guitars, replacing simple, bland pickguards with bright and sparkly designs will help your guitar stand out. Again, this all depends on your style and what you’re going for.
It’s also worth mentioning that you can buy different strengths of pickguards. Stickers won’t be as scratch-resistant as compared to other materials, so make sure you know what you’re buying. You can find a number of options on Amazon,

Electric Guitar Installation
Swapping out a pickguard on an electric is much easier than an acoustic. These pickguards are often screwed into place, and it’s simple to identify where these screws are. Fender-style guitars will have more screws than Gibson-style guitars. Make sure to double check how many holes are on your current pickguard and compare that next to the one you’ll be buying – these should match to guarantee an easy installation job.
Acoustic Guitar Installation
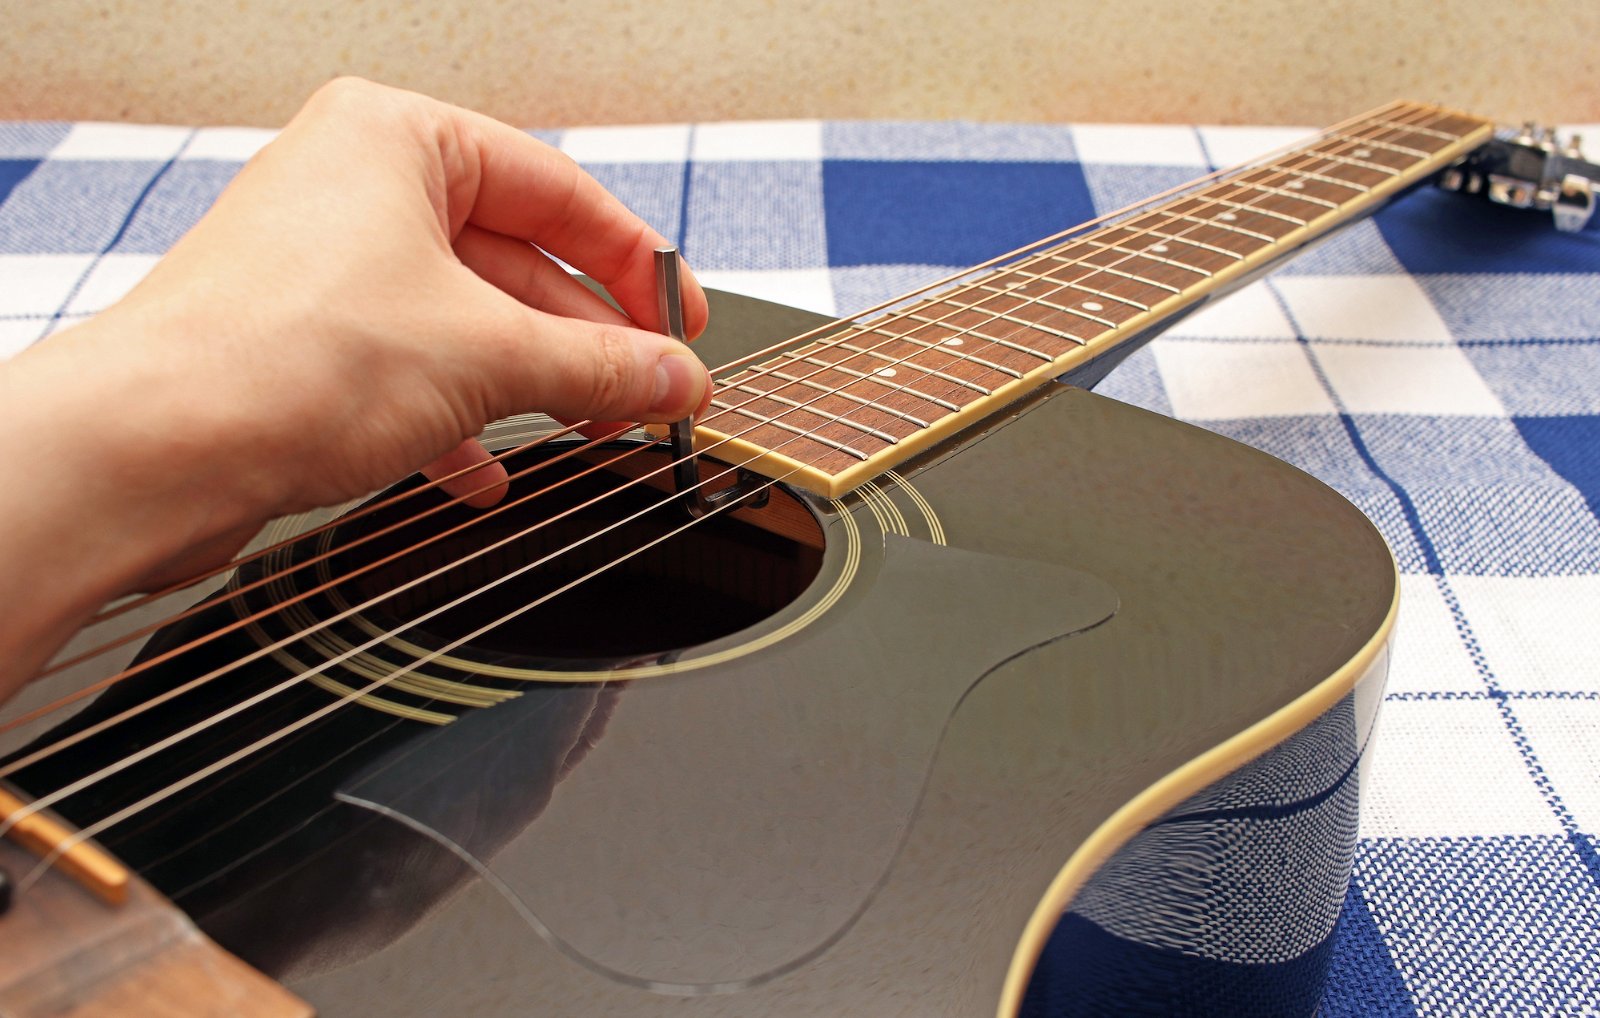
Acoustic guitar pickguards are generally stickered or glued onto a guitar, and the process is a little more time intensive. You should still be able to easily do this project in an hour or less by following the steps below.
‘Melt’ the current pickguard off
The current pickguard has been attached to the wood pretty early since the beginning of the guitar’s life. If you try to simply rip off the pickguard, you’ll leave behind paper marks or glue. The best way to remove the pickguard and adhesive is to use a blow dryer and heat it up. You need to be careful to not overheat the surrounding wood, so go in small spurts and keep a good distance away from the guitar. You only want to encourage the pickguard to get hot. Once it starts getting warm, it should cleanly begin to peel off.

Clean & Prep the Pickguard Area
Once the pickguard is removed, take some guitar cleaner and polish the wood. There may be leftover adhesive or materials that you’ll want to remove. Once all dust, debris, and glue is removed, do one last clean and make sure the area is prepped for the new pickguard.
Install the Replacement
Think of adding a screen protector to your iPhone. It’s easier said than done! If you need to alter the pickguard to fit, be sure to have precise measurements of where you’re cutting. Carefully align the curve and corners of the pickguard to the guitar before ‘sticking’ it. This is arguably one of the most difficult parts of installing the pickguard due to how precise your hands need to be, but the final product will (hopefully) be worth the hassle. Congrats, you’ve given your guitar a facelift with a new pickguard!
About the Author
Isaiah Ram is a studio musician, artist, writer, and producer from Atlanta, Georgia. He works with Lessons In Your Home, and is in a worship band called Wind & Color with his wife. The two have a baby girl and their family exists to unleash potential in people and in businesses. You can reach out to Isaiah on Instagram.

